Grow
Getting Started with Grow Social for Pinterest


Dec. 6, 2023: This blog post has been updated to reflect the sale of Grow Social and Grow Social Pro to NerdPress. The plugin is now called Hubbub; more information about the sale can be found on our Hubbub landing page.
In our last blog post about Grow, we showed you how to customize the social share buttons so they fit your site and discussed why you should try Grow Social Pro.
Now we’re going to help get you started with Grow Social Pro’s Pinterest settings and a look into my own personal workflow.
As a quick reminder and for some background, Grow Social Pro has powerful Pinterest features.


The plugin also allows users to navigate to the General Pinterest Settings (Grow > Pinterest). These settings allow you to customize what appears when you click on the Pinterest button from a specific blog post.
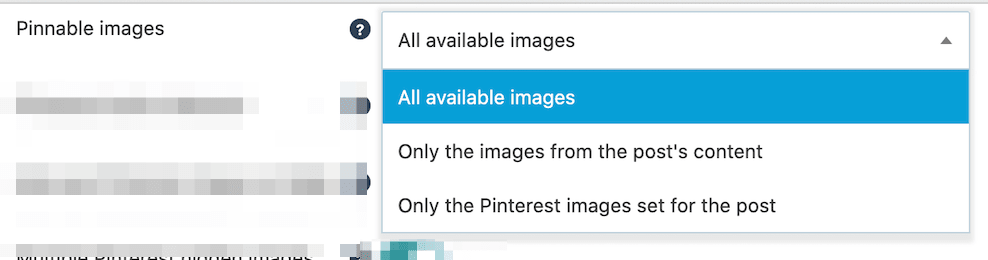
For the Pinnable Images you have three options:

For the Pinterest button behavior setting, you have two options:
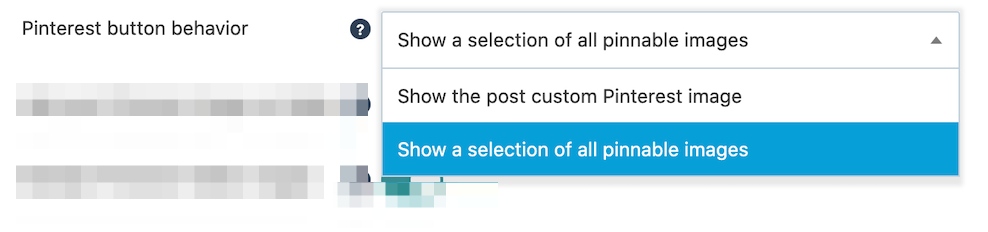

The combination for these settings will depend on your desired outcome when someone clicks on the Pinterest button to pin one of your blog posts.
Once you have your pins created, you will want to navigate to the specific post that you created the images for and scroll down below the post editor until you get to the “Grow: Share Options” section that looks like this:

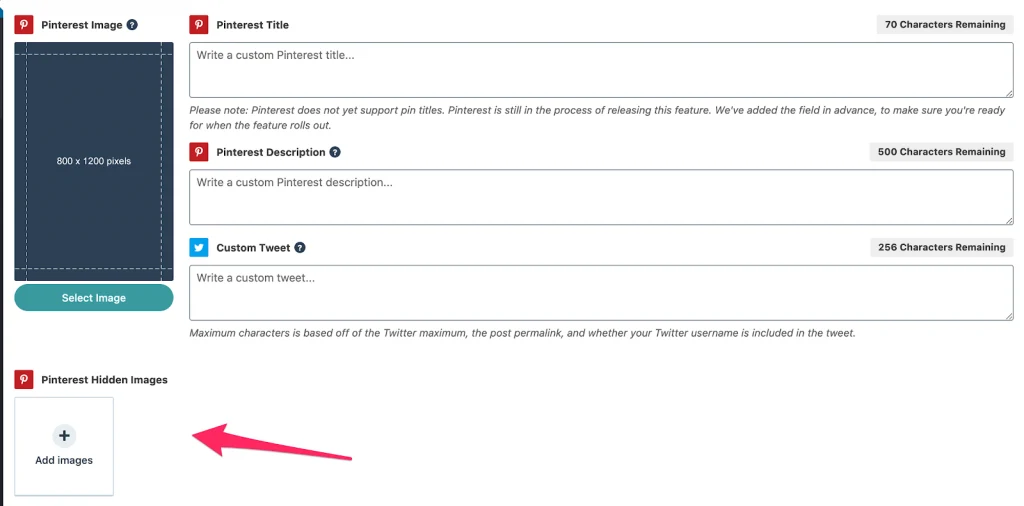
To add a hidden pin you’ll want to click on the plus sign (+) Add Images button. This will pull up your media library and from there you can upload or select the pins you created.
There are a few different ways to add Pinterest descriptions. The first way is via your Media Library. When you add a pin description here, it will carry over into the post editor for when you add the image to a new post.
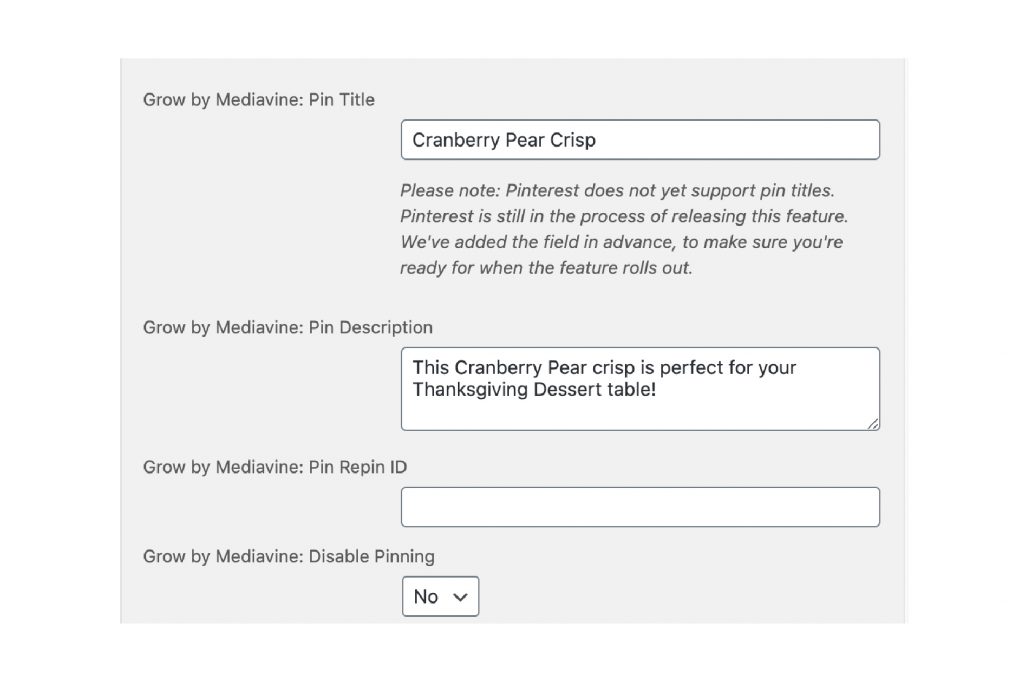
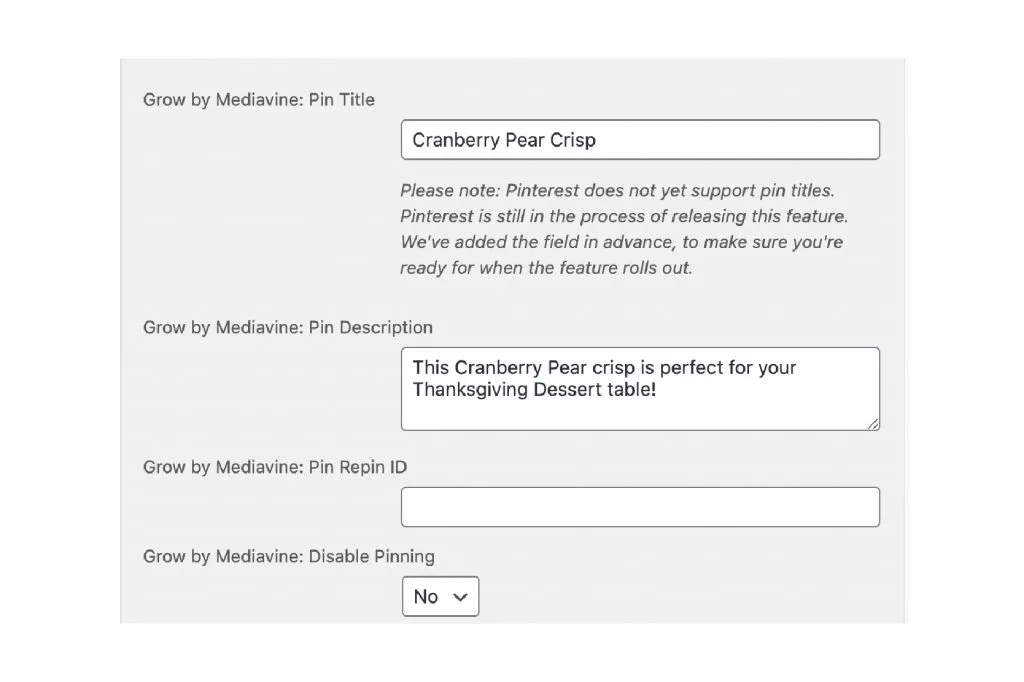
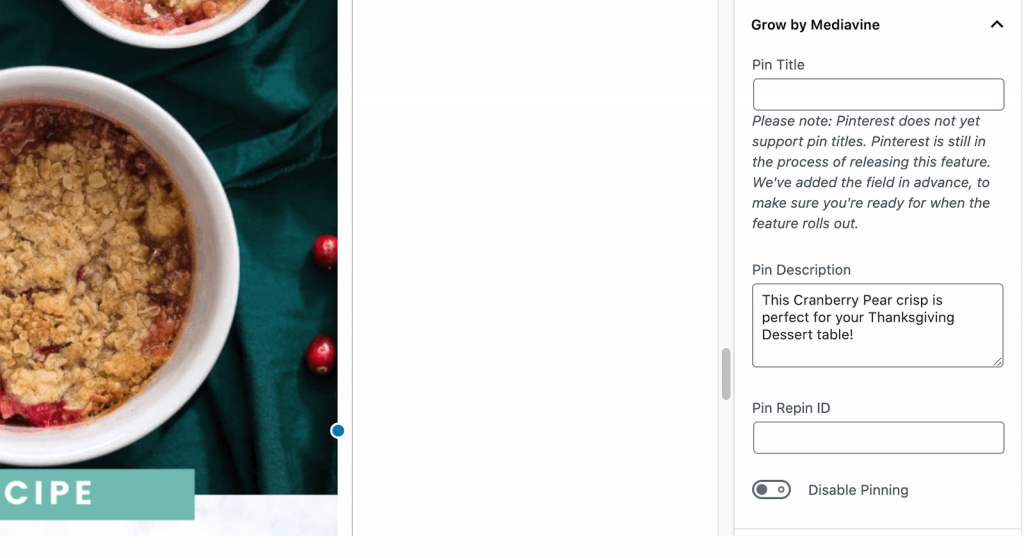
The second way is to add the pin description to the post editor itself. In Gutenberg, you’ll see it on the side rail for image block settings under “Grow by Mediavine®.” This can be helpful if you didn’t already add it via the Media Library or you need to change specific image descriptions. This doesn’t add the description to the Media Library and it won’t carry over to other posts. This option only covers the current post.

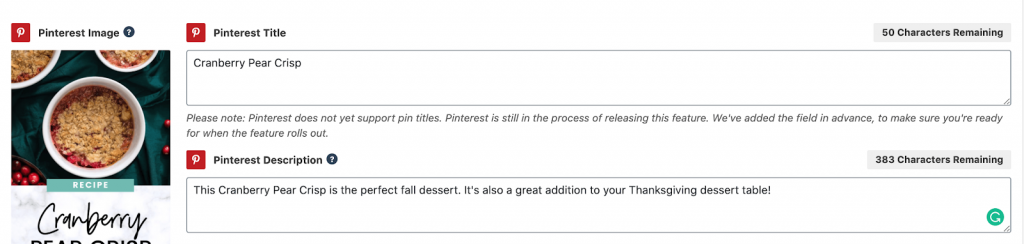
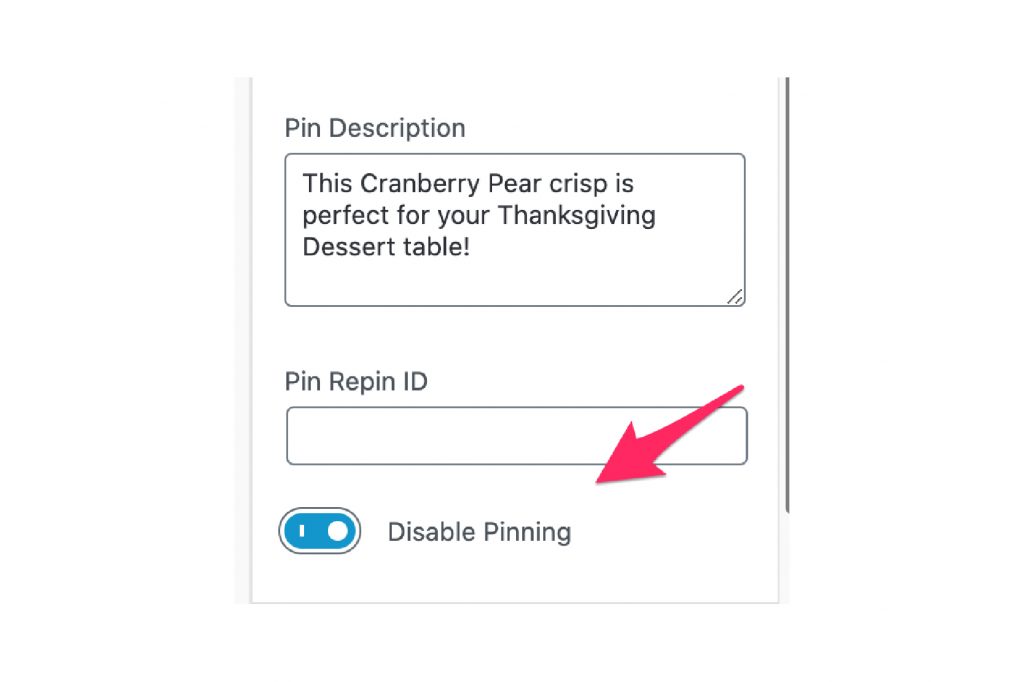
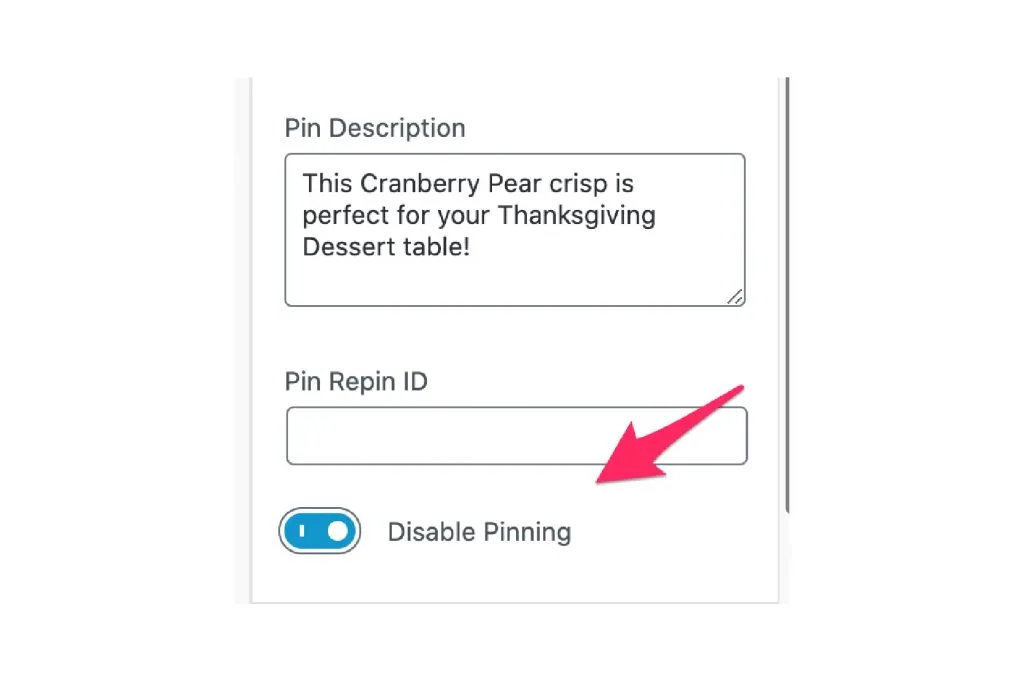
The third (and final) way to add a Pinterest Description to your images is to do it at the very bottom where you add the custom and hidden Pinterest image.
This description section will apply to all of the images within the post, but if they have their own separate description, that will take priority.

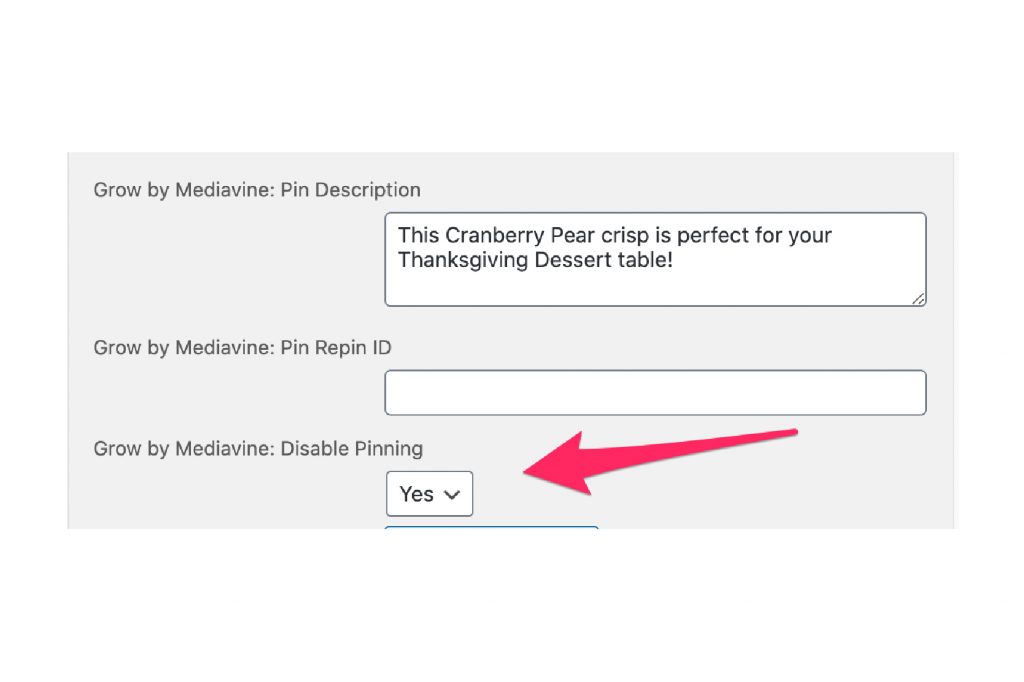
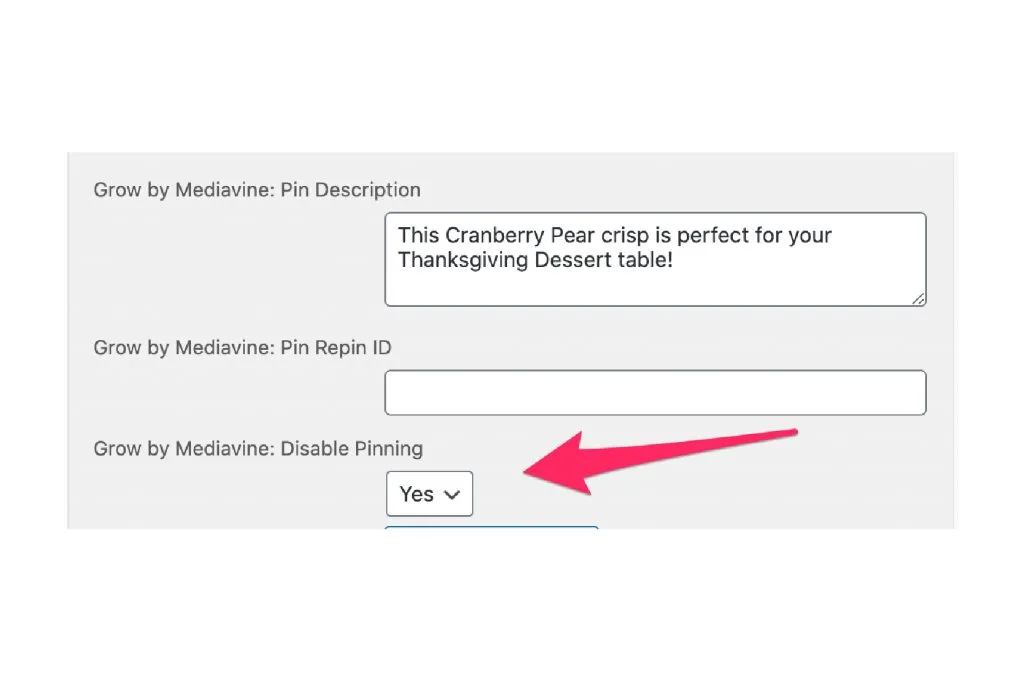
Disabling specific images can be done in the Media Library and within the post editor itself.
You can do this by selecting yes in the drop-down within the Media Library.
You can also do this by toggling on the “disable pinning” option within the post editor.
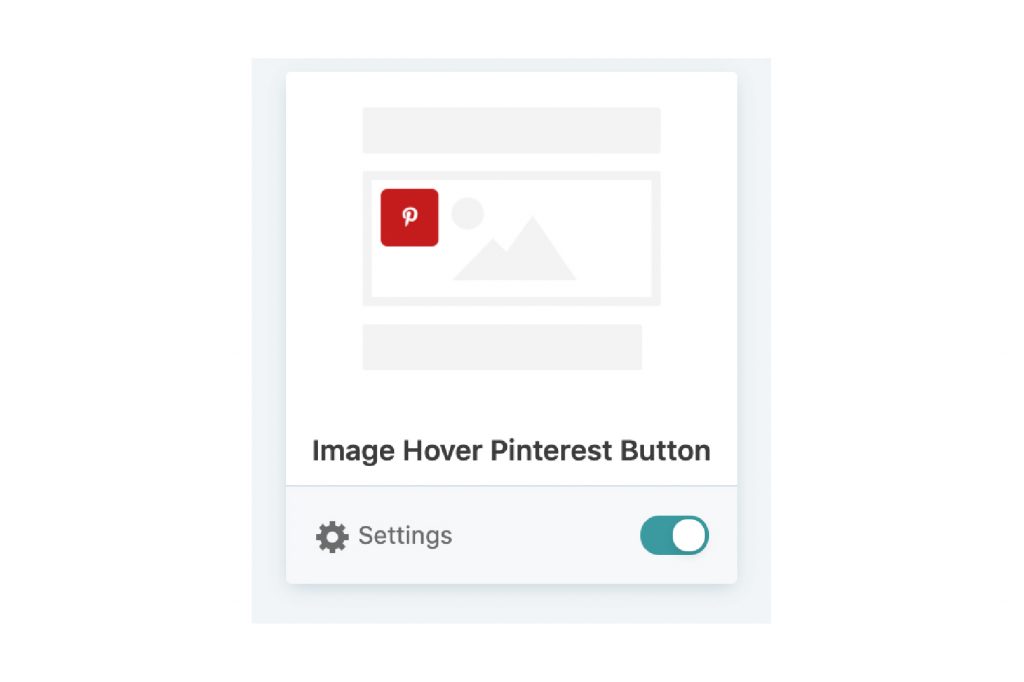
To enable the hover button you first need to toggle it on via the Toolkit (Grow > Toolkit). This will allow you to view the hover button settings under Grow > Pinterest.

Stay up to date with the latest from Mediavine
Well hello there friends! It’s been a while but we are back with another amazing feature update. At this point, I think we are past the “get to know you …
This week we’re continuing our never-ending quest to shape the content creation industry one feature at a time through Grow. 💙 But, before I jump in to deliver some exciting …
Hey friends! We’re dropping in to announce two new power-packed enhancements for Grow that will drive further engagement with your audience. If you’re new to the Grow community, you’ve joined …